UIKit/AutoLayout
17 - Self-Sizing Table View Cells _ 2
Toughie
2023. 4. 4. 00:24
self - sizing
self-sizing refers to the ability of a view to determine its own size based on its content and constraints.
Self-sizing views are a fundamental aspect of building dynamic user interfaces
that adapt to different screen sizes and orientations.
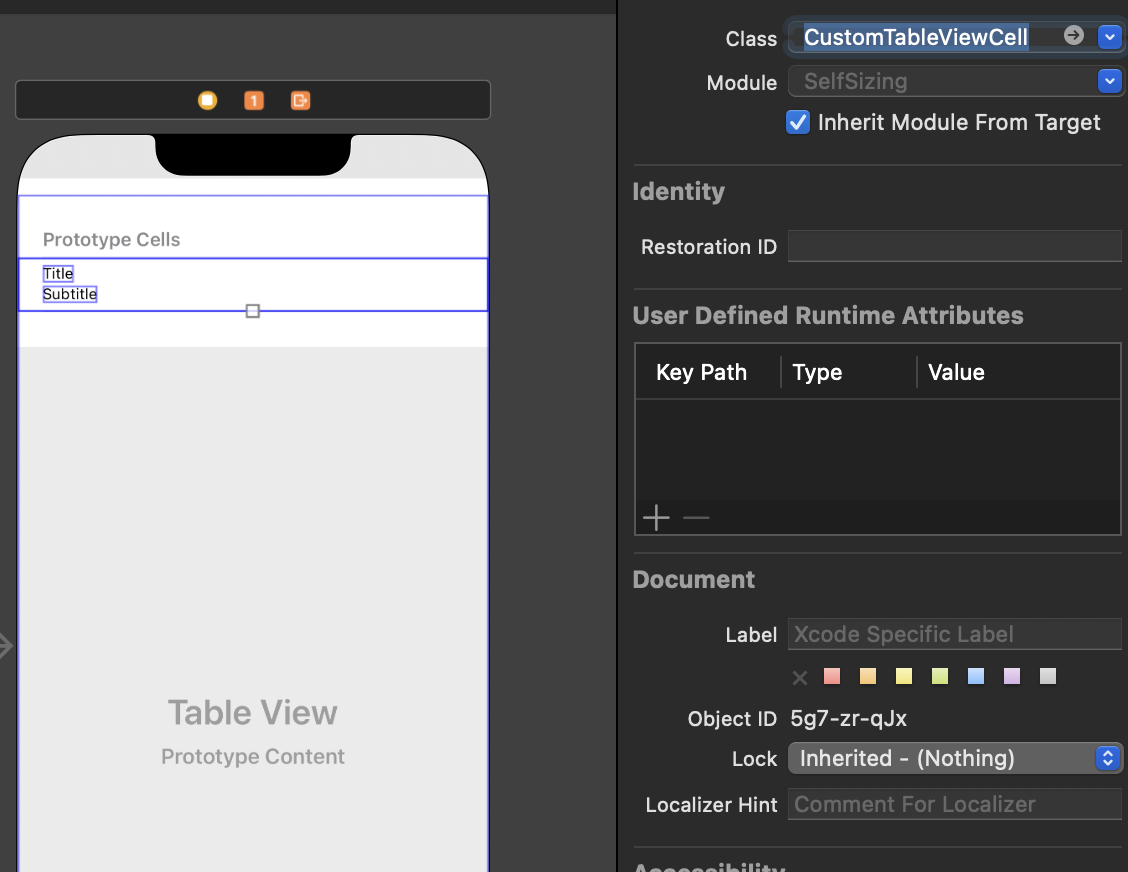
customCell 파일을 만들어서
스토리보드에서 연결시켜준다.
UITableVieCell

변수 이미지뷰
변수 타이틀레이블
변수 디테일레이블

override func awakeFromNib() {
	super.awakeFromNib()

    //여기서 cell UI 구성

    - 각 변수 초기화
    - 오토레이아웃 코드로 잡으니 .translatesAutoresizingMaskIntoConstraints = false 잊지 않기

    content가 self-sizing 할 수 있도록
    cell에 직접이 아니라 contentView에 addSubView 하기!

    필요한 설정에 따라 폰트, 컬러 적용
    Dynamic Font를 위해 .adjustsFontForContentSizeCategory = true 적용

    여러줄 출력을 원하면 .numberOfLines = 0


    스택뷰를 쓴다면

        let stackView = UIStackView(arrangedSubviews: [타이틀, 디테일])
        stackView.alignment = .fill
        stackView.distribution = .fill
        stackView.spacing = 8
        stackView.axis = .vertical
        stackView.translatesAutoresizingMaskIntoConstraints = false
        contentView.addSubview(stackView)
        //contentView에 addSubview 하기!


     이미지와 스택뷰의 레이아웃 잡아주기
     NSLayoutConstraint.activate([NSLayoutConstraint])

     Anchor 활용
     -이미지뷰
     탑,리딩 컨텐츠뷰에
     너비는 컨텐츠뷰의 20%
     너비 높이 1: 1
     바텀앵커는 컨텐츠뷰의 바텀앵커보다 작거나 같게(좀 띄우려고)

     -스택뷰
     리딩앵커가 이미지뷰의 트레일링앵커에서 적당히 떨어지게
     탑앵커는 이미지뷰 탑앵커와 같게 (같은 높이)
     트레일링 앵커는 컨텐츠뷰 트레일링 앵커와 같게
     바텀 앵커는 컨텐츠뷰 바텀 앵커와 같게

}
짜잔
- Cell의 contentView위에 컴포넌트를 올리는 개념
- 커스텀셀 생성 및 연결
- 코드로 레이아웃 잡기
학습한 유익한 시간이었다 :)
[학습 소스]
공식문서, 야곰 오토레이아웃 정복하기 강의
https://yagom.net/courses/autolayout/https://yagom.net/courses/autolayout/